DJI Mini 3 Pro Drone Review
DJI Mini 3 Pro is a good example of how in the ever-evolving world of drones, technological advancements continuously push the boundaries of what these unmanned aerial vehicles can achieve. As an avid drone enthusiasts, we recently faced a difficult decision: stick with our trusty Mavic Air bought in 2018 or upgrade to the alluring new DJI Mini 3 Pro recently released by DJI? After careful consideration and several test flights, we finally leaped to the DJI Mini 3 Pro Drone, and we couldn’t be more thrilled with our decision. In this drone review, we will share our experience with the new drone and why we immediately fell in love with it. Finally, permanent issues with our old friend disappeared, and we consistently enjoy flying this new small, flexible machine. Learn why in the following paragraphs of DJI Mini 3 Pro Drone Review.
This article may contain affiliate / compensated links. For full information, please see our disclaimer here.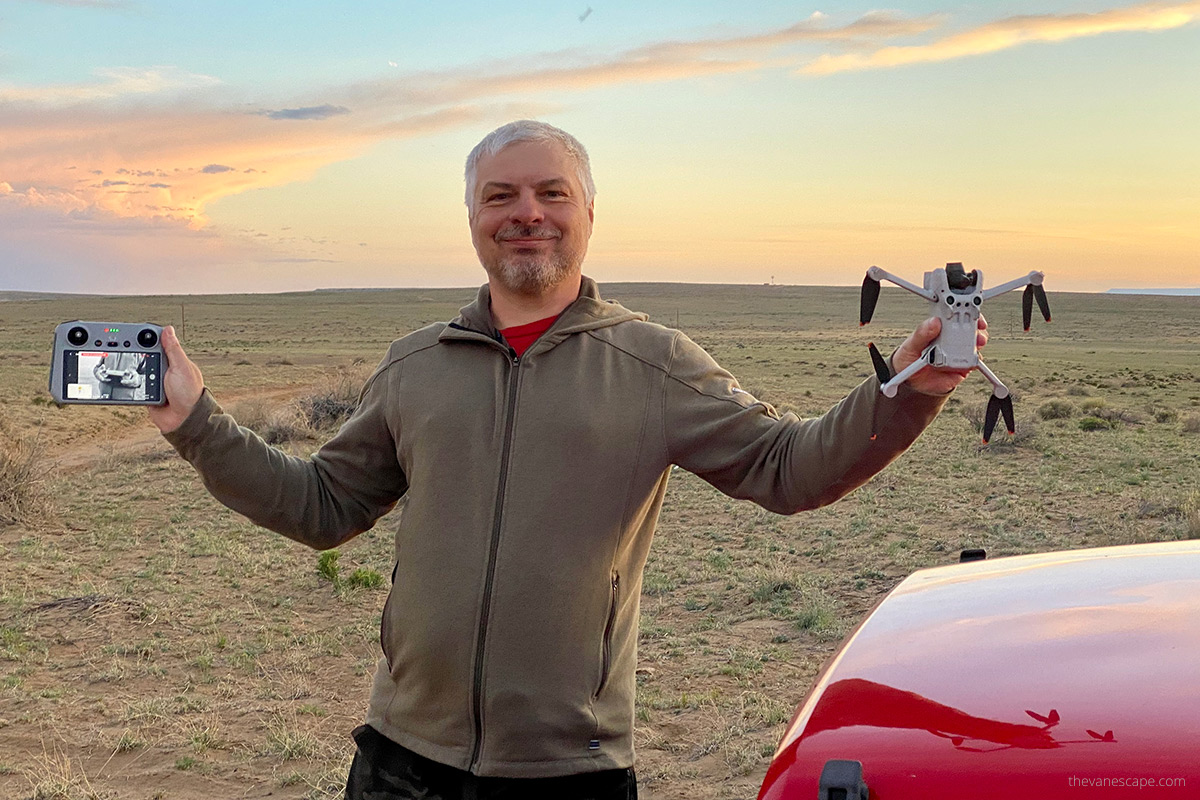
To clarify, this post is not sponsored. My partner Chris and I purchased this new drone on Amazon and will provide our genuine thoughts based on our user experience. So check out our review, videos, and photos taken with this drone. We used it about 4 months before writing this review and are still using it. It’s an amazing drone.
DJI Mini 3 Pro Drone Review- Specs at a Glance
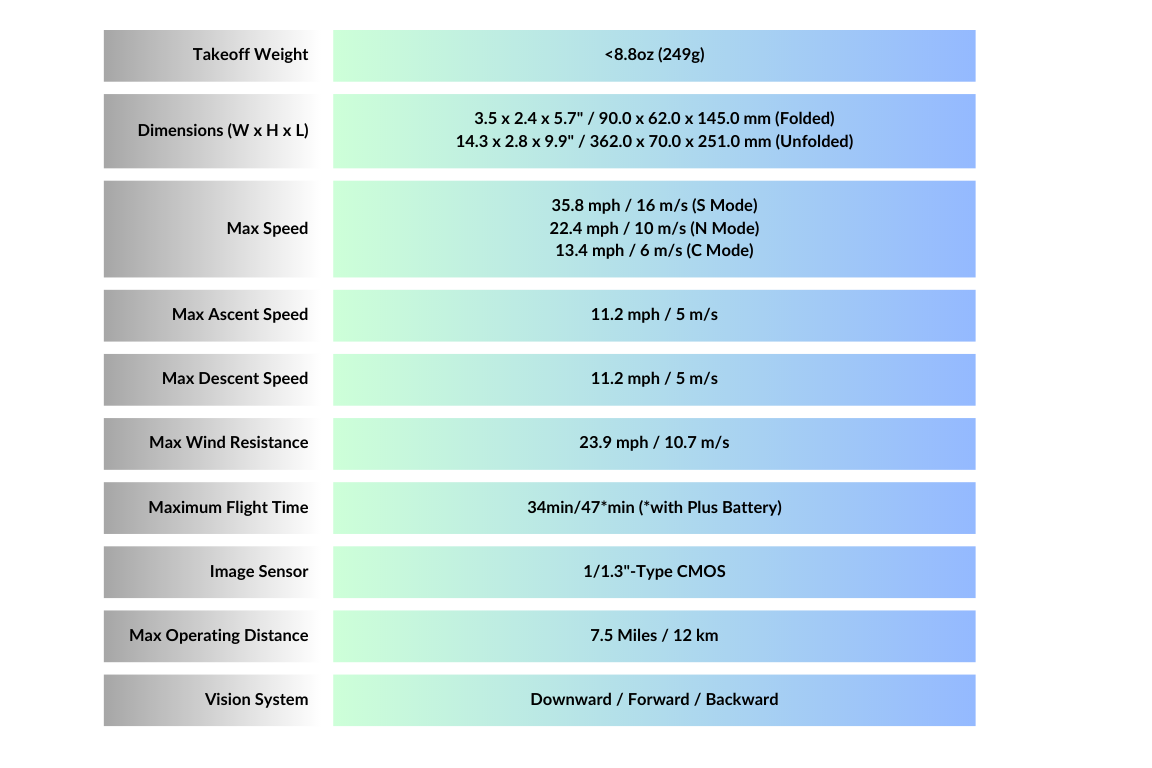
DJI Mini 3 Pro Drone Review- Technical Specification
Repeating the technical specifications of DJI Mini 3 Pro after all other sources differs from our intention in this review. However, we want to emphasize the most important things about the new machine. In our opinion is the best drone for travel.
The Weight
The most crucial advantage of Mini 3 Pro is its weight lower than 249g (0.55 pounds). It means you do not have to register it according to current regulations (as of May 2024). Of course, you must remember that this does not allow you to fly it in places like National Parks and other restricted areas. These regulations apply to all drones, and their weight does not matter. It is also much easier to carry such a light drone. However, you should also consider that in strong wind, the light drone will be less stable (wind resistance is 10.7m/s).
OUR TIP: Please check if you should register your drone and how to do it on the official FAA (Federal Aviation Administration) page.
The Battery
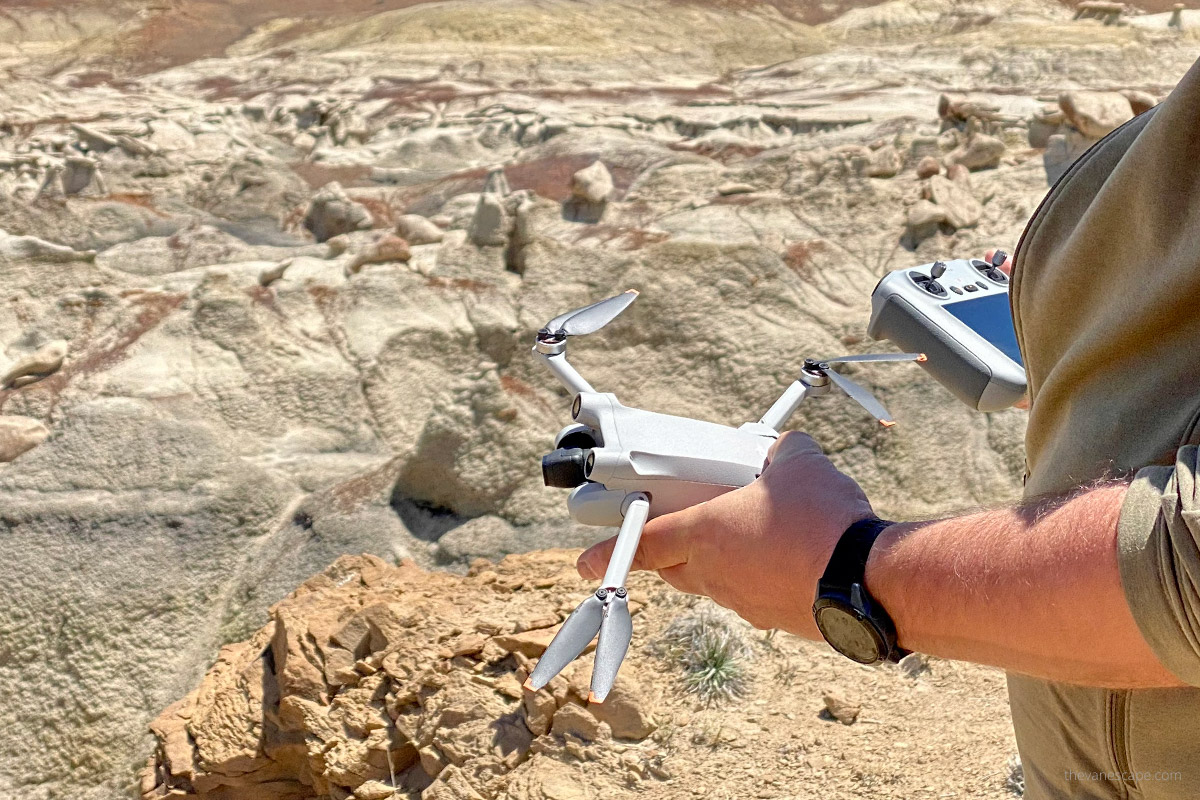
Another great thing about this new toy is that you can choose between two different types of batteries – the default one, Intelligent Flight Battery, and the bigger capacity one, Intelligent Flight Battery Plus. The first one allows for 34 minutes of flight, while the bigger one will let you fly up to 47 minutes! That is amazing! Remember that a bigger battery weighs more, and the drone with it installed weighs over 249g, so legally, you should register Mini 3 Pro if you plan to use it with a Plus battery.
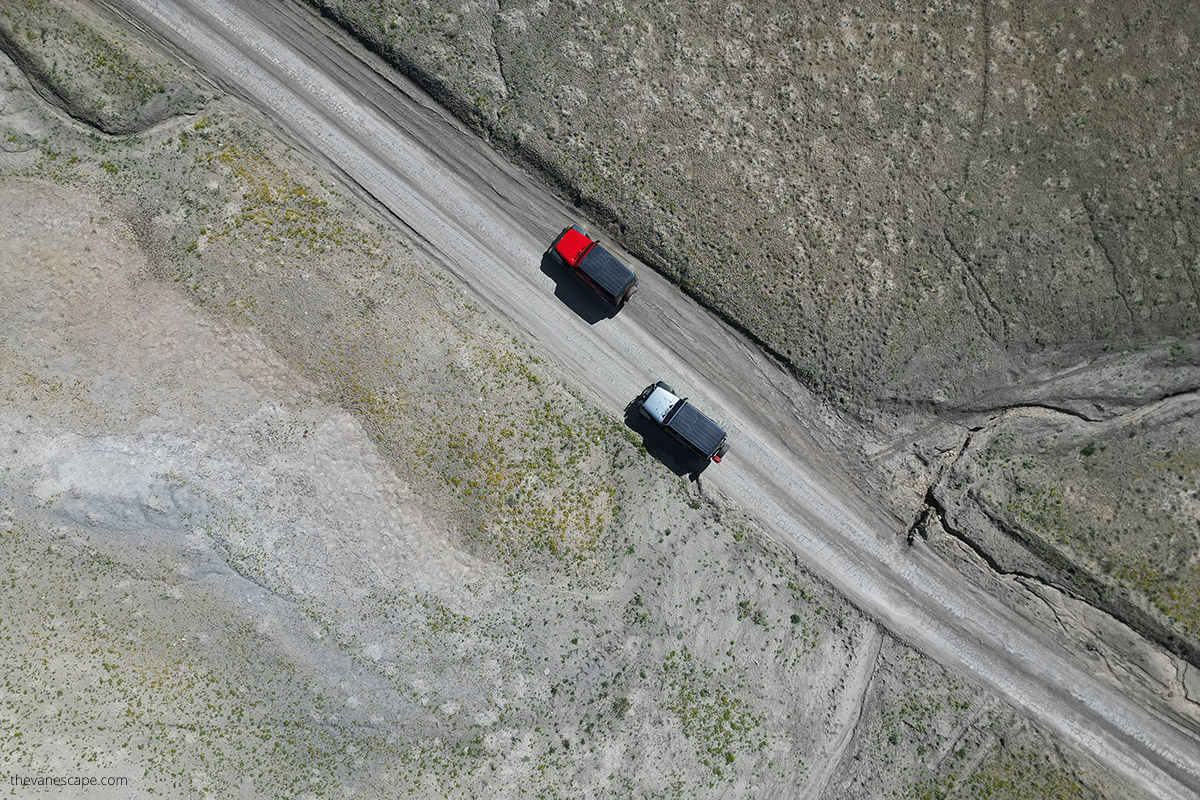
The picture below was taken with our DJI Mini 3 Pro in the Factory Butte Recreation Area in Utah.
It’s good to have at least 2 or 3 batteries. We purchased them additional. But you also can consider a more extended set Fly More Kit with three batteries, a landing pad, a backpack, and more.

The Remote Controller
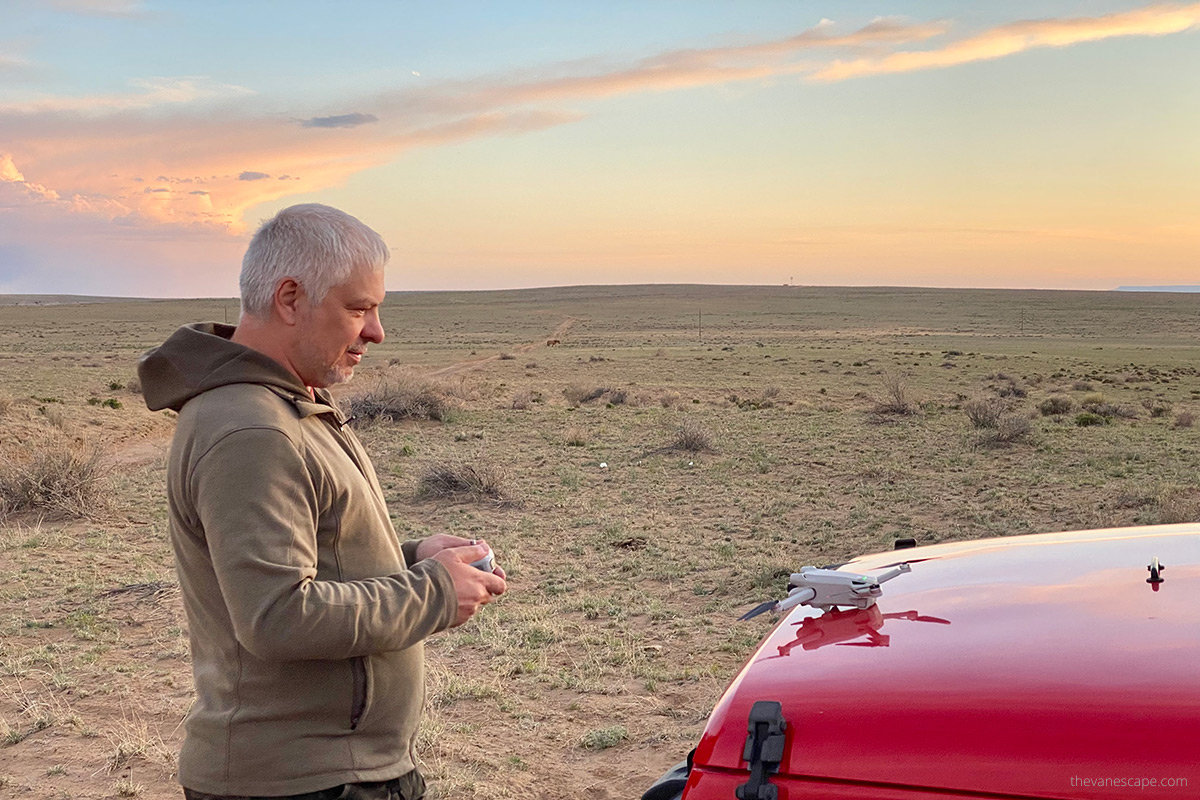
The DJI RC controller was the last thing that convinced us to switch from the original Mavic Air to the revolutionary Mini 3 Pro. We were very tired of phone installation, connection, troubleshooting, screen quality, device locking, and other problems resulting from using the phone as a controller. That was a bad idea from the beginning.
Fortunately, DJI decided to release this new excellent DJI RC device that solves all the problems. They also decided to switch from failing Wi-Fi to professional transmission protocols, which means you can theoretically control a drone even up to 8 km distance! What an advantage! Only this should be the reason to replace the old Mavic Air with the new excellent Mini 3 Pro.
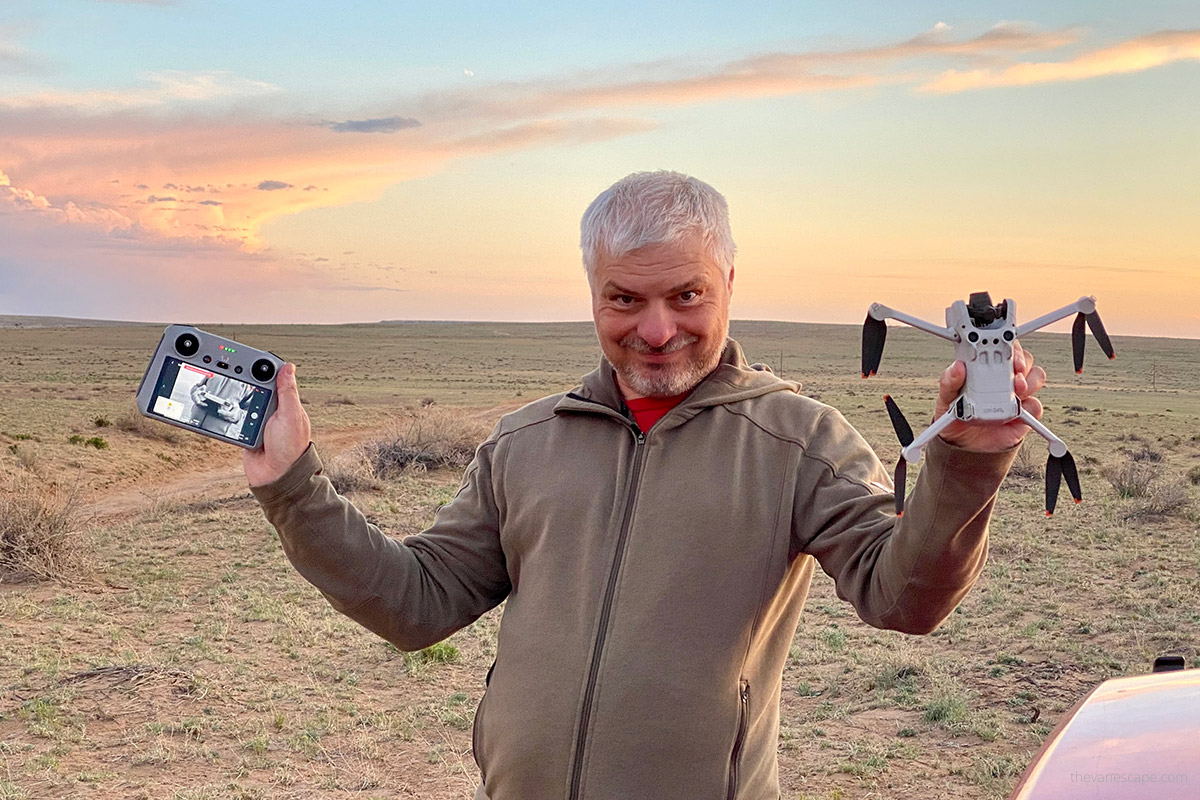
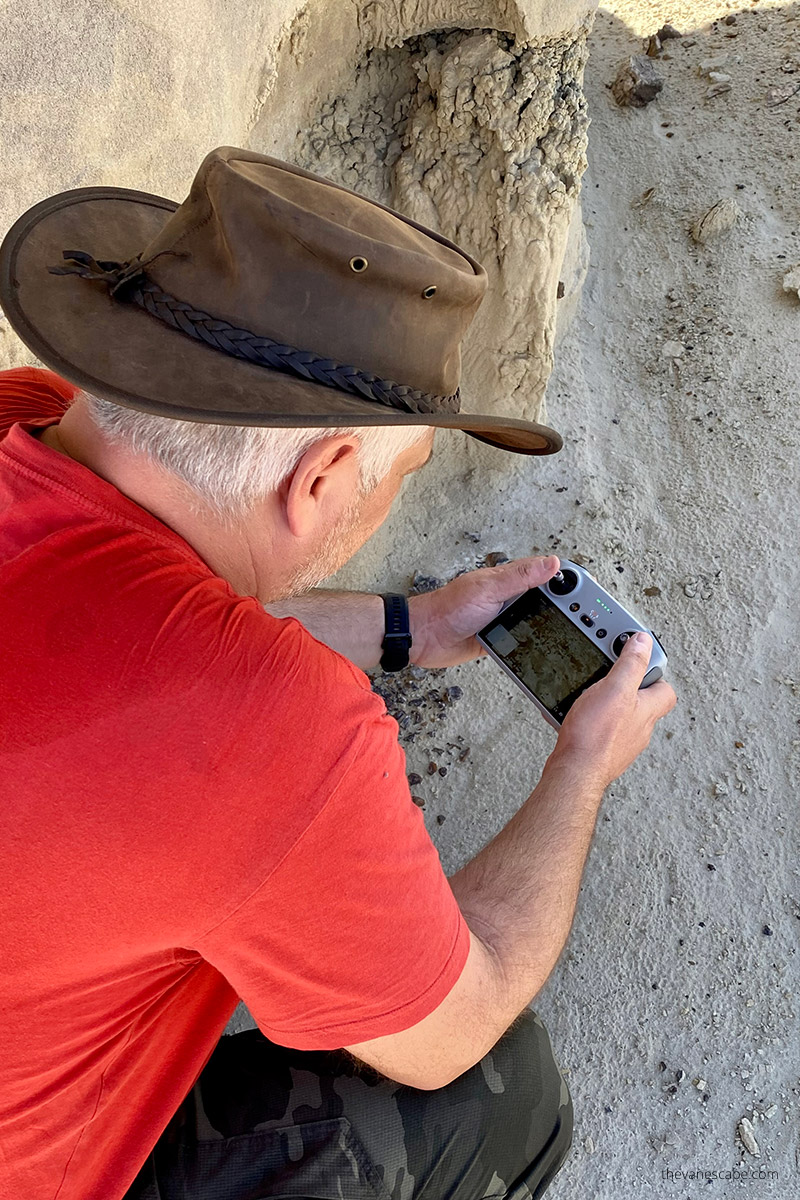
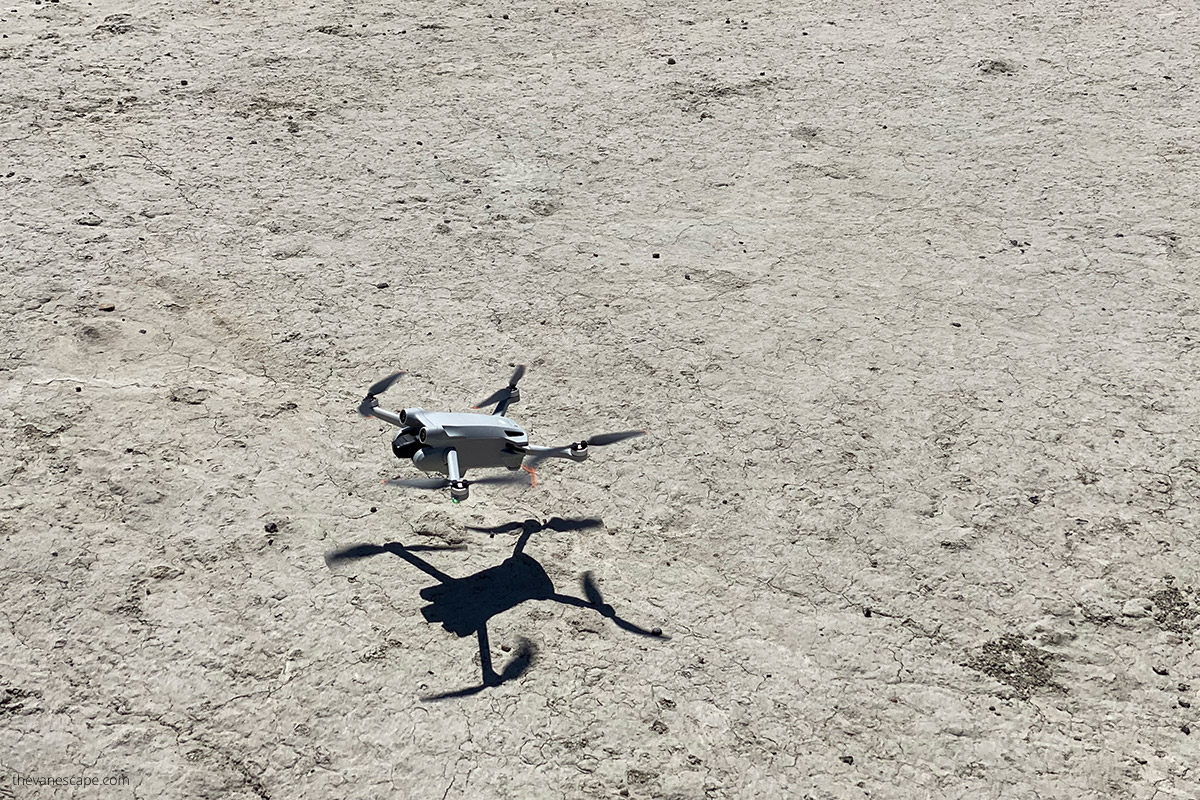
DJI Mini 3 Pro with the DJI RC controller
Our recommendation is to go for the DJI Mini 3 Pro package that comes with the DJI RC controller featuring a 5.5-inch touchscreen and the DJI Fly App pre-installed. The control experience is smooth, and the quality is perfect. We highly recommend this set.
Moreover, now you have a choice. There is a couple of different sets you can purchase. If you like the phone-controller solution, you can still stick to it, saving some money and space in your backpack. But for us, the only reasonable choice was DJI RC. And we are not disappointed. Actually, we are thrilled with this approach. It is very comfortable and reliable. We purchased this set.
DJI Mini 3 Pro Drone Review – Our Experience
In drone technology, user experience is crucial in determining the overall satisfaction and enjoyment of piloting these aerial vehicles. The ease of control, responsiveness, and intuitive interface significantly contribute to the overall user experience. In this section, we will delve into the user experience aspect of the drone review, examining how the Mini 3 Pro elevates the flying experience through its user-friendly controls, seamless navigation, and immersive piloting capabilities. It is important to mention how drastically our user experience improved with Mini 3 Pro over Mavic Air.
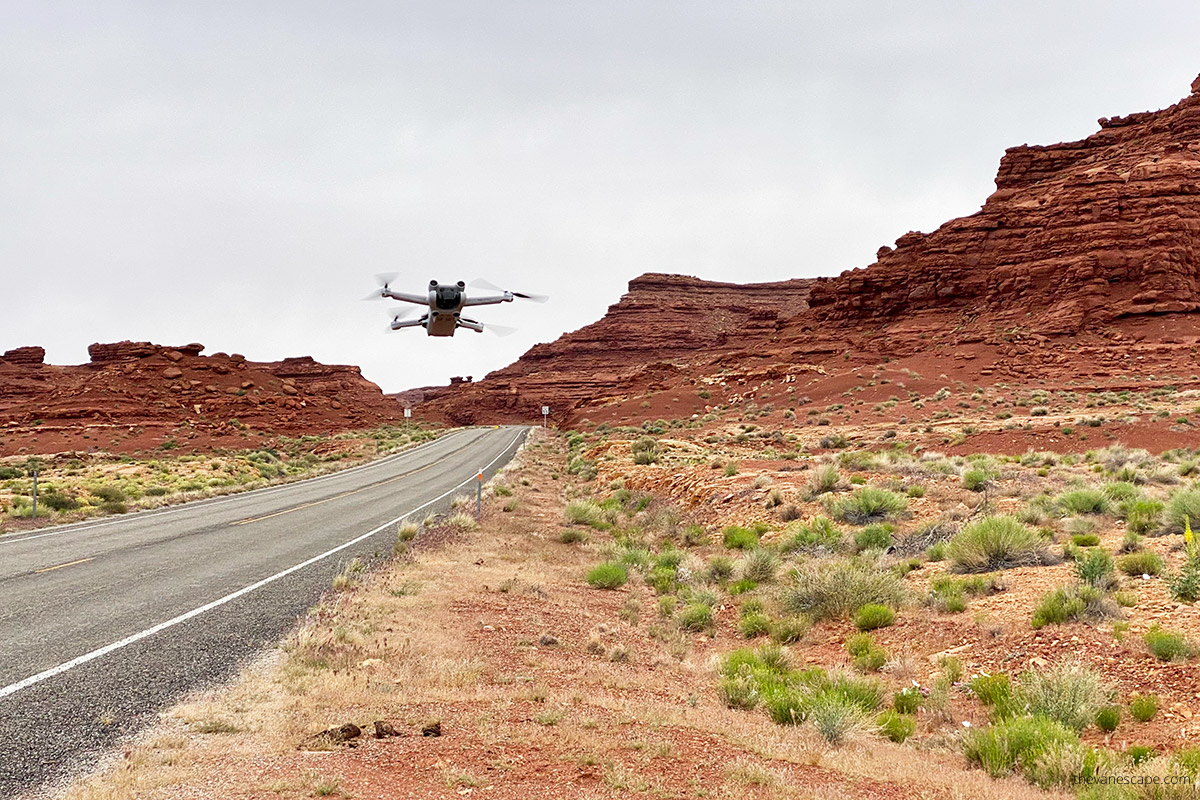
We had many opportunities to see how it works on our recent Southwest road trip and Southern Utah road trip. We were flying on public lands and other unique locations outside National Parks or wilderness areas where flying is legal and allowed.
Below is a short video we shot with a DJI Mini 3 Pro drone on our recent road trip through the southwestern US, mainly Utah and New Mexico. We ask for your understanding as this is our first video with this drone.
Initial Setup Time
The biggest problem for Chris with the old device was the initial setup time, and very often, it was the reason he gave up recording footage from somewhere because he was too tired to go through this procedure. Preparing Mavic Air for launch usually took about 5-7 minutes. Yes, that long!
We had to plug the phone into the controller and troubleshoot connections very often because it always had some issues; then, we had to calibrate the drone before flying. It was susceptible to calibration, significant sources of a magnetic field, etc. And it took time. Chris was tired.
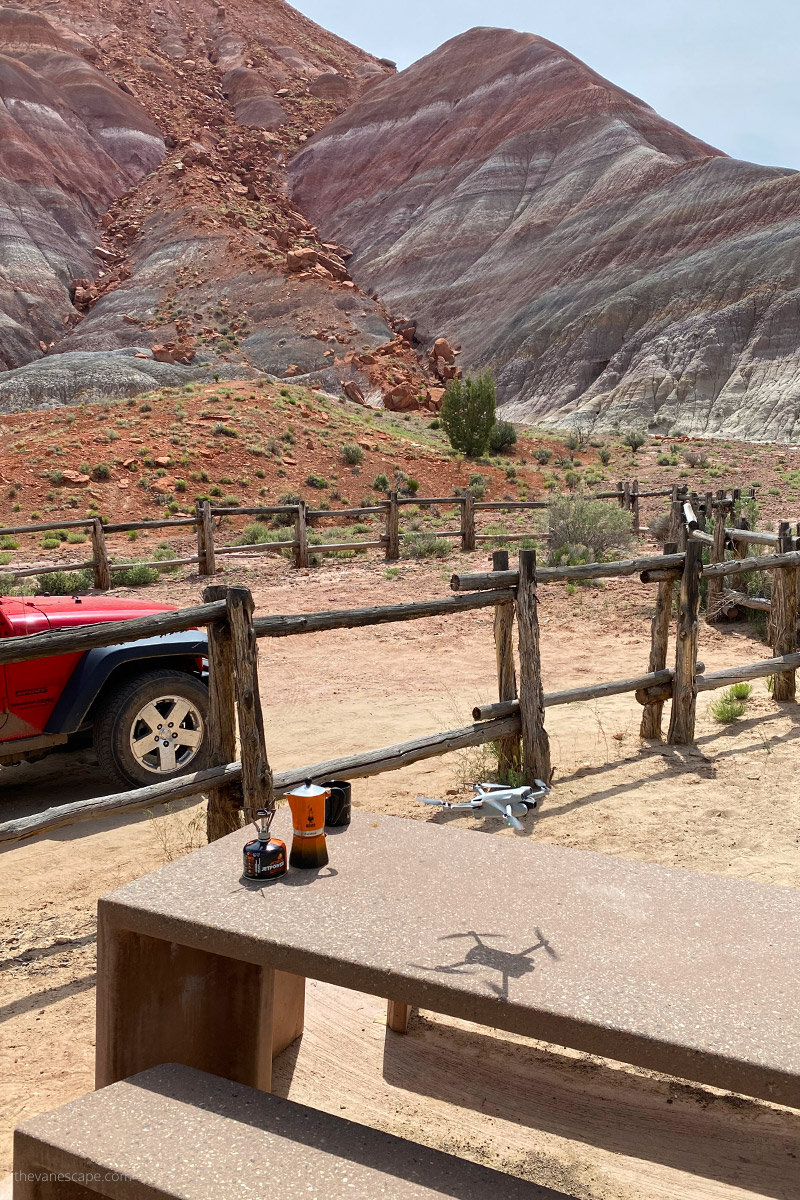
With the new Mini 3 Pro, it takes below 1 minute! Yes, that is a vast improvement! We unpack the drone and the controller, unfold the propellers, turn both devices on, wait for connection, and immediately fly. We love this quick procedure, and it is failure-free!
The DJI RC Controller
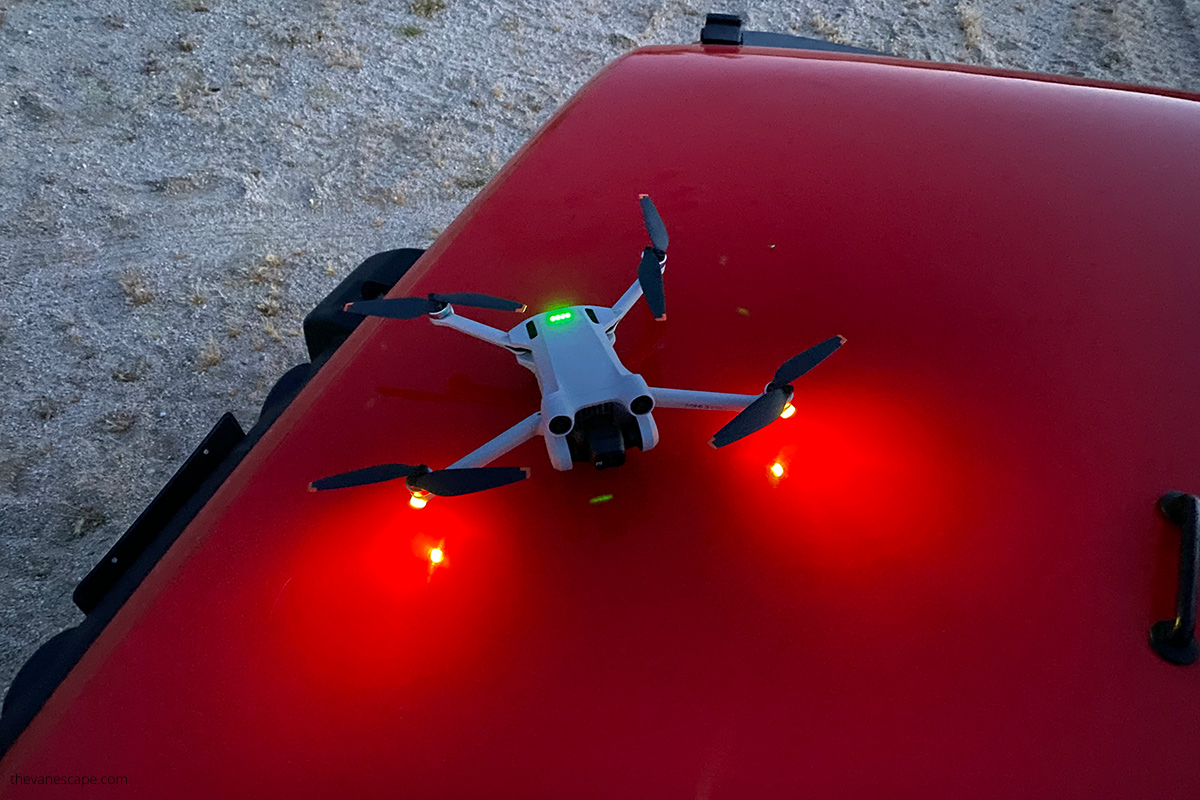
This piece of hardware is crucial to our improved user experience, so we would like to give you more details explaining why we love it so much. If you used DJI drones and got used to their controls, you will need no time to adapt to the new controller. Everything is clear and intuitive.
When you decide to purchase the DJI Mini 3 Pro in the set with the DJI RC controller, you are getting a 5.5-inch built-in touchscreen and DJI Fly App installed. Also, we like a better smooth control experience than on the old Mavic Air controller connected to the iPhone.
Buttons
The choice of buttons on DJI RC is much higher than on the old device. So what do we have here?
- Power on/power off button
- Cine/Normal/Sport mode switch
- Flight pause/return home button (consolidated)
- Two control sticks (removable)
- Button to capture video (switch video/photo)
- Button to capture photo (switch photo/video)
- Gimbal zoom control
- Gimbal tilt control
- Customizable C1 button (bottom of the controller) – by default, it’s assigned to switch between vertical and horizontal photo/video orientation – an impressive feature for YouTube shorts or other stories that should be recorded vertically – You do not need to process your recording later, you can have it ready immediately.
- Customizable C2 button (bottom of the controller) – by default, it’s assigned to recenter the gimbal and point it downward. Very usable, in our opinion.

Interface
Also, the controller provides additional interfaces like:
- Status LED – indicates the remote controller status
- Battery level LEDs
- USB-C charging port
- MicroSD card slot – more about it later
- Additional USB-C Host port
- Control sticks storage slot
- Speaker
Other Types of Controllers
In the DJI offer, you can find other controllers like RC-N1, RC-PRO, and Smart Controller. RC-N1 is equivalent to what we had with the Mavic Air – devices that required your phone to provide a screen. Smart Controller is dedicated to older drones up to Mini 2, and RC-PRO is an excellent device for people who miss features in DJI RC.
Of course, it is much more expensive but has better brightness (1000 cd/m2 vs. 700 cd/m2 in DJI RC), dedicated antennas for better communication, and other features that don’t matter so that we can stay with fantastic DJI RC.
DJI Fly App
As mentioned above, DJI RC comes with preinstalled DJI Fly App, and this app looks much better than on the iPhone. You have some options to choose from, like:
- Fly Spots showing you suitable flight and shooting locations nearby
- Academy with excellent tutorials to improve your flying skills – We really love this feature!
- Album where you can browse taken photos and videos
- Profile providing you with standard personal information and configuration
Your touch controls everything – very intuitive and convenient. However, one thing may be worth mentioning – Chris spent a couple of minutes looking at how to connect to my Wi-Fi personal hotspot in the field, and it took a lot of work to figure out. If you find yourself in such a situation, try to slice down from the top of the screen – it should open a kind of hidden configuration menu where you can easily configure new Wi-Fi networks and other stuff. Not a very obvious and intuitive thing.
Finally, if you get to this menu, there is one interesting feature – you can record your screen to a microSD card inserted into the controller. It might be helpful sometimes. You can also take screenshots this way.
DJI Mini 3 Pro Drone Review – Photographer and Videographer Perspective
When it comes to drones, one of the most compelling reasons to own and operate these remarkable aerial devices is their unparalleled ability to capture stunning photography and videography. With their unique vantage points and versatile maneuverability, drones have revolutionized the art of visual storytelling.
This paragraph will explore DJI Mini 3 Pro as the go-to tool for capturing breathtaking aerial imagery, providing photographers and videographers with a whole new perspective and myriad creative possibilities. Mini 3 Pro is also the first drone that considers the needs of vloggers who mainly record shorts vertically!
Why is DJI Mini 3 Pro Good for Taking Pictures?
DJI Mini 3 Pro has a fantastic camera. Please remember that other DJI Drones may have better cameras, but in the case of Mini 3, we had to compromise weight other features here. For us, the improvement over the old Mavic Air was drastic.
The picture below was taken with our DJI Mini 3 Pro in Utah on Smoky Mountain Road, which is a great idea as a day trip from nearby Kanab or Page.

The Sensor
The new drone gives us perfect-quality photos, especially when manually adjusting how to take them. The quality is mainly due to the sensor size, which is 1 1/3″ in the case of Mini 3. It also theoretically provides 48 Megapixels (but single shot photo uses only 12 MP), an iso range of 100-6400, an electronic shutter 1/8000 to 2s, and some processing features that we will mention below.
The built-in camera has a lens with a 24mm angle of view and an aperture of 1.7, which is very good for picture quality. Adding this easy option to choose between vertical and horizontal photos and choosing between 4:3 or 16:9 format shows massive potential for photographers. And there is more.
New Features
We have a new feature in the photo menu called Style – it allows us to adjust sharpness and noise reduction. Of course, you can do it in post-processing, but sometimes you need photos immediately, and those options help shorten delivery time.
Another new feature is the possibility to set ISO or shutter to Auto, which allows proper exposure and better-quality pictures if appropriately used. You can also force the camera to take photos in 48-megapixel mode, but we do not recommend it. It may help you get additional details in good light, but generally, pictures come with much higher noise in this mode. The better idea is to get used to turning on AEB mode which lets you create bracketing, which increases the dynamic range of your final picture. This last feature has a much better impact on final picture quality than an increased number of megapixels.
The picture below was taken with our DJI Mini 3 Pro in Paria Townsite near Kanab. The place it’s known as Utah Little Hollywood.

Hyper-lapse
The last thing worth mentioning from the photographer’s or, maybe rather, the videographer’s perspective is hyper-lapse mode. Actually, this feature links both artists because it takes pictures from a photographer’s perspective and creates video that is useful for videographers.
Before, this feature was available only in bigger drones. Now you have it in DJI Mini 3 Pro – they packed this drone with everything possible, and remember, it still weighs only 249g! We do not want to enter details on how to use this feature here. Just want to emphasize that this is fantastic for additional dynamics in your videos, so it’s another reason to buy Mini 3 Pro.
Why did Chris Start to Create Videos with DJI Mini 3 Pro?
For many years Chris was focused on taking pictures. He was doing different types of photography, starting with landscape and architecture through street photography, model/portrait photos up, to his beloved wildlife photography. He went through various stages related to the equipment and technique, the approach to a given type of photography, and the post-processing of the obtained material. Photography is his number one passion, together with traveling.
And why was he avoiding video recording for all those years? There is a couple of reasons. The first one is the lack of easy-to-use tools in the 80s and 90s, not to mention how expensive it was back then. It was just easier to focus on photos. Another reason is how complicated it is to produce good, decent-quality, exciting videos. That, for many years, was reserved only for teams of professionals.
Only YouTube and smartphones changed it drastically in the last few years. Now, the tools are widely available, and video streaming makes produced videos easily accessible to a vast number of people.
Active Track 4.0
Why does the DJI Mini 3 Pro Drone give us the pleasure of producing videos? Yes, this is true. We have fallen in love with DJI Mini 3 Pro video recording capabilities and quality. It was not the case with our old Mavic Air. Why did it happen?
This is likely because of the fantastic active tracking feature unavailable on our previous device. This is not so new, and DJI introduced it a long time ago (March 2016 in Phantom 4), but for us, it was the actual discovery. How easy you can use it and how excellent videos you can create!
We don’t want to analyze the evolution of the active tracking functionality over the last 7 years, but at DJI Mini 3 Pro, we have version 4, which really amazes us with its capabilities. Active Track on the Mini 3 Pro, sometimes called focus track, is a crucial feature that lets the drone recognize a subject and follow it at different modes. We have available trace, parallel, point of interest, and spotlight modes.
If you want to activate this mode, you focus the camera drone on the selected subject and mark it with your fingers on the DJI RC touchscreen – the green box will appear around the object to be tracked. Now you only have to choose the mode of tracking and press recording. This is so simple, and the video produced this way is very smooth and looks professional. We love this mode and can use only this 😉

Other Interesting Video Features
Of course, the active track is not the only valuable feature of DJI Mini 3 Pro Drone. However, those features we love are related to active track, and they are just preprogrammed moves of the device. What we mean here are two menus – Quickshots and Mastershots.
Again those things are not new, but for many years were only available in the most expensive and bigger drones. With DJI Mini 3 Pro, you have all these capabilities easily accessible. And if you learn how to use them, nothing else is needed to produce breathtaking videos. What is new here, you can use those modes in the horizontal and vertical orientation.
Except for Quickhosts (Dronie, Rocket, Circle, Helix, Boomerang, and Asteroid) being autonomous flight and shoot mode with preprogrammed tracks, you have Mastershoots. Those last ones are fully automated collections of manoeuvers prepared rather for vloggers to publish ready-to-go videos quickly. Those manoeuvers are, of course, based on Quickshots.
One thing to remember with Quickhost is to define acceptable picture quality – by default, it is 1080p – you should usually choose 4K 30fps (you can’t increase the number of fps in those modes, unfortunately). We personally reckon that those Mastershoots are less valuable than Quickshots because what a drone prepares for you is not good enough to publish. Still, we think it’s better to prepare shots manually and then post-process them to get the final expected shape.
The picture below is Grosvenor Arch, on Cottonwood Canyon Road in Utah. It was taken with our DJI mini 3 Pro.

Other Features Worth Mention in DJI Mini 3 Pro Drone Review
We emphasized everything that is important in such a short review from a practical perspective, but we must describe one more thing that we love about DJI Mini 3 Pro. This feature is Quick Transfer.
Quick Transfer
This feature lets you connect your drone directly to the phone without powering the controller. The reason for this is to allow us to fast transfer media (25Mbps) directly to devices which means quicker publication on social media. And for many modern vloggers, it is essential. Yes, DJI is listening to its users. And we like it. All iPhones, iPads, and Android devices are supported.
To use this feature on your phone, you must install DJI Fly App. If it is present, you power on the drone and launch the app, then select Switch to quick transfer mode. It should suddenly show you the drone to connect over Wi-Fi. You got a very easy-to-use browser and chose which media to download from your drone.
We have to mention that DJI RC does not support Quick Transfer mode. It’s even worse – you can’t preview 4K videos on the controllers, which is a significant disadvantage for us. It supports only resolutions up to 1080. We hope DJI will fix this in the following firmware versions.
Wind Resistance
We already mentioned it, but want to tell you a few more words. You can think the wind is a big problem for such a small device. This was also our doubt at the time of purchase. We were afraid we couldn’t fly where we like and where usually it’s windy. But we were so wrong. What convinced us eventually was the comparison of wind resistance between the DJI Mini 3 Pro and the bigger Air Mavic 2S. They can resist exactly the same 10.7m/s wind according to the specs.
But how it looks in practice? We do not own Air Mavic 2S, but we can tell you that we were flying in windy conditions and were uncomfortable. First of all, the battery was drained much faster than in calm weather. Second, the video recording sometimes was choppy because the gimbal could not correct all the sudden drone moves due to the wind. But, the drone was never damaged due to the wind, never fell, and Chris could always land it safely.
What really means 10.7 m/s? We know it might be hard to imagine for most of you, but if you calculate in km/h or mph, you will get 38.5km/h or almost 24mph, accordingly! It’s a considerable number. If it is that windy, it means small trees with leaves begin to sway, and flags are fully extended. It’s not little resistance. From a practical perspective, it’s pretty high, and you should not be afraid of flying. If the wind is stronger, We do not even like staying outside.
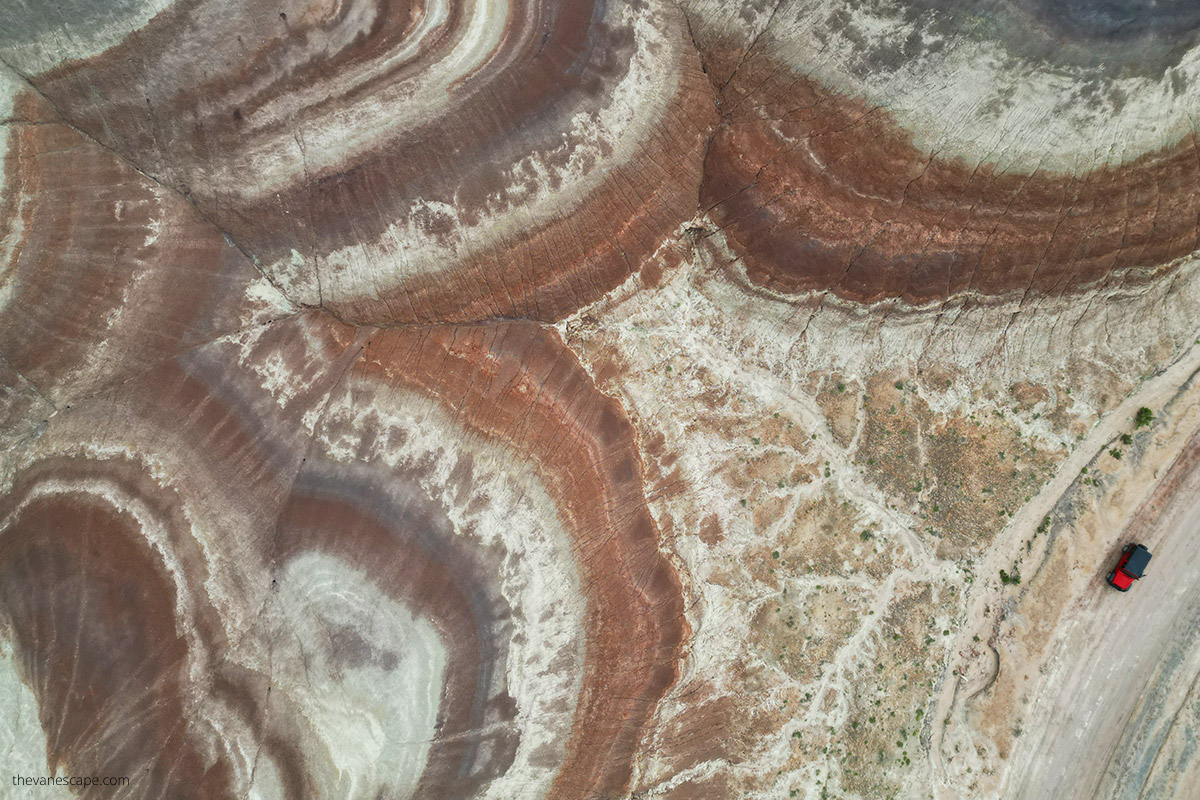
The picture below was taken with our fabulous DJI mini 3 Pro in Utah, between Fruita and Hanksville.
The Battery Charger
We were looking for some disadvantages of flying DJI Mini 3 Pro, and it is tough to find those. But if we had to pick on something, it would be the battery charger. It’s an entirely different approach than with our old Mavic Air. With the old one, we connected the cable directly to the battery, which was very convenient while charging on the road – in the car, the van, or the camper. Just plug the battery into the cable and wait.
With DJI Mini 3 Pro story is different. You can charge the battery while in your drone or use an external charger box that fits 3 batteries. We did not find any way to charge a single battery.
It means you need more space and you need to spend more money.
Yes, 3 battery charger is not included – you have to buy it separately. DJI assumed you would charge the battery inside your device. And this piece of plastic is pricey. So be prepared. It’s better to purchase this Fly More Kit.
DJI Mini 3 Pro Drone Must-Have Accessories
After using our new toy for 3 months, we can also share with you what accessories are helpful.
Memory Card
Choosing a proper memory card for DJI Mini 3 Pro Drone is essential. I was trying to use my old card but got the message that it is slow and can cause problems with video recording. So I immediately purchased a faster one. It must be UHS-I with a speed grade of 3 or higher. For many years I have been using memory cards from two trusted vendors, i.e., Sandisk and Lexar. Fortunately, our new drone also supports those cards.
Below is a list of supported microSD cards from my recommended vendors (I own a SanDisk Extreme 512GB V30 A2, and it works well):
- SanDisk Extreme 64GB V30 A1 microSDXC
- SanDisk Extreme 128GB V30 A2 microSDXC
- SanDisk Extreme 256GB V30 A2 microSDXC
- SanDisk Extreme 512GB V30 A2 microSDXC
- SanDisk Extreme Pro 64GB V30 A2 microSDXC
- SanDisk Extreme Pro 256GB V30 A2 microSDXC
- SanDisk Extreme Pro 400GB V30 A2 microSDXC
- SanDisk High Endurance 64GB V30 microSDXC
- SanDisk High Endurance 256GB V30 microSDXC
- SanDisk Max Endurance 32GB V30 microSDHC
- SanDisk Max Endurance 128GB V30 microSDXC
- SanDisk Max Endurance 256GB V30 microSDXC
- Lexar High Endurance 64GB V30 microSDXC
- Lexar High Endurance 128GB V30 microSDXC
- Lexar 667x 64GB V30 A1 microSDXC
- Lexar 633x 256GB V30 A1 microSDXC
- Lexar 1066x 64GB V30 A2 microSDXC
- Lexar 1066x 128GB V30 A2 microSDXC
- Lexar 1066x 256GB V30 A2 microSDXC
ND Filters
If you like to play with long-exposure videos or photos, it’s good to consider the set of basic gray ND filters. It’s inexpensive and can save your shooting on bright days or help achieve long exposure to waterfalls or cloud movements. We are using the Freewell All Day set of six filters and still discovering in how many situations they are so helpful.
DJI Mini 3 Pro Drone Review – Summary and the Verdict
As you probably noticed throughout this review, we really love this tiny beast. It’s lightweight, easy to use, fits into the pocket, and is quick to launch and publish your pictures or videos on social media. It actually has everything you would expect from such a handy drone. DJI did a great job, and thanks to them, Chris became a beginner video producer. He is motivated to further learn and develop his skills in the area. We appreciate what DJI offered us, and even if it might feel pricey, you still have plenty of options. And if you understand what you get for that price, you immediately notice a smile on your face. At least we did.
DJI Mini 3 Pro is one of the 3 products of this company we use while traveling. The others are the DJI Osmo Pocket (since 2019), which still performs very well and is a good source of videos, and the DJI Osmo Mobile 6, the new purchase we plan to give an in-depth review very soon. All those devices have very similar interfaces, which are easy to use.
Our DJI Mini 3 Pro verdict is very high, and this product has not many downsides. See the numbers below and purchase your dream drone with Fly More Kit.

DJI Mini 3 Pro – Frequently Asked Questions
Do I need a license for DJI Mini 3 Pro?
You don’t need a license if you use your DJI Mini 3 solely for recreational flying. Register with the FAA as a recreational flier. However, it’s essential to verify whether or not flying is permissible in a particular location.
How High Will a DJI Mini 3 Pro Fly?
For safety purposes, the DJI Mini 3 Pro has a maximum flight altitude of 1640 feet (500 meters).
How long does DJI Mini 3 Pro Last?
The DJI Mini 3 Pro Intelligent Flight Battery lasts 34 minutes. However, the DJI Mini 3 Pro Intelligent Flight Battery Plus lasts 47 minutes. It is important to note that the Intelligent Flight Battery Plus must be bought separately.
Can I take my DJI Mini 3 Pro on a Plane?
Yes. You can bring your DJI Mini 3 Pro on a plane. The best idea is to take it as carry-on luggage. If you want to put your drone in checked baggage, you must remove your drone batteries, as they always must be in carry-on luggage.
Is the DJI Mini 3 Pro for Beginners?
If you’re a beginner looking for a drone, the DJI Mini 3 Pro is a great option. It comes with avoidance sensors that make flying safe and easier. Plus, you’ll have a blast flying it!
What year is the DJI Mini 3 Pro Coming Out?
The DJI Mini 3 Pro became available on May 10, 2022.
